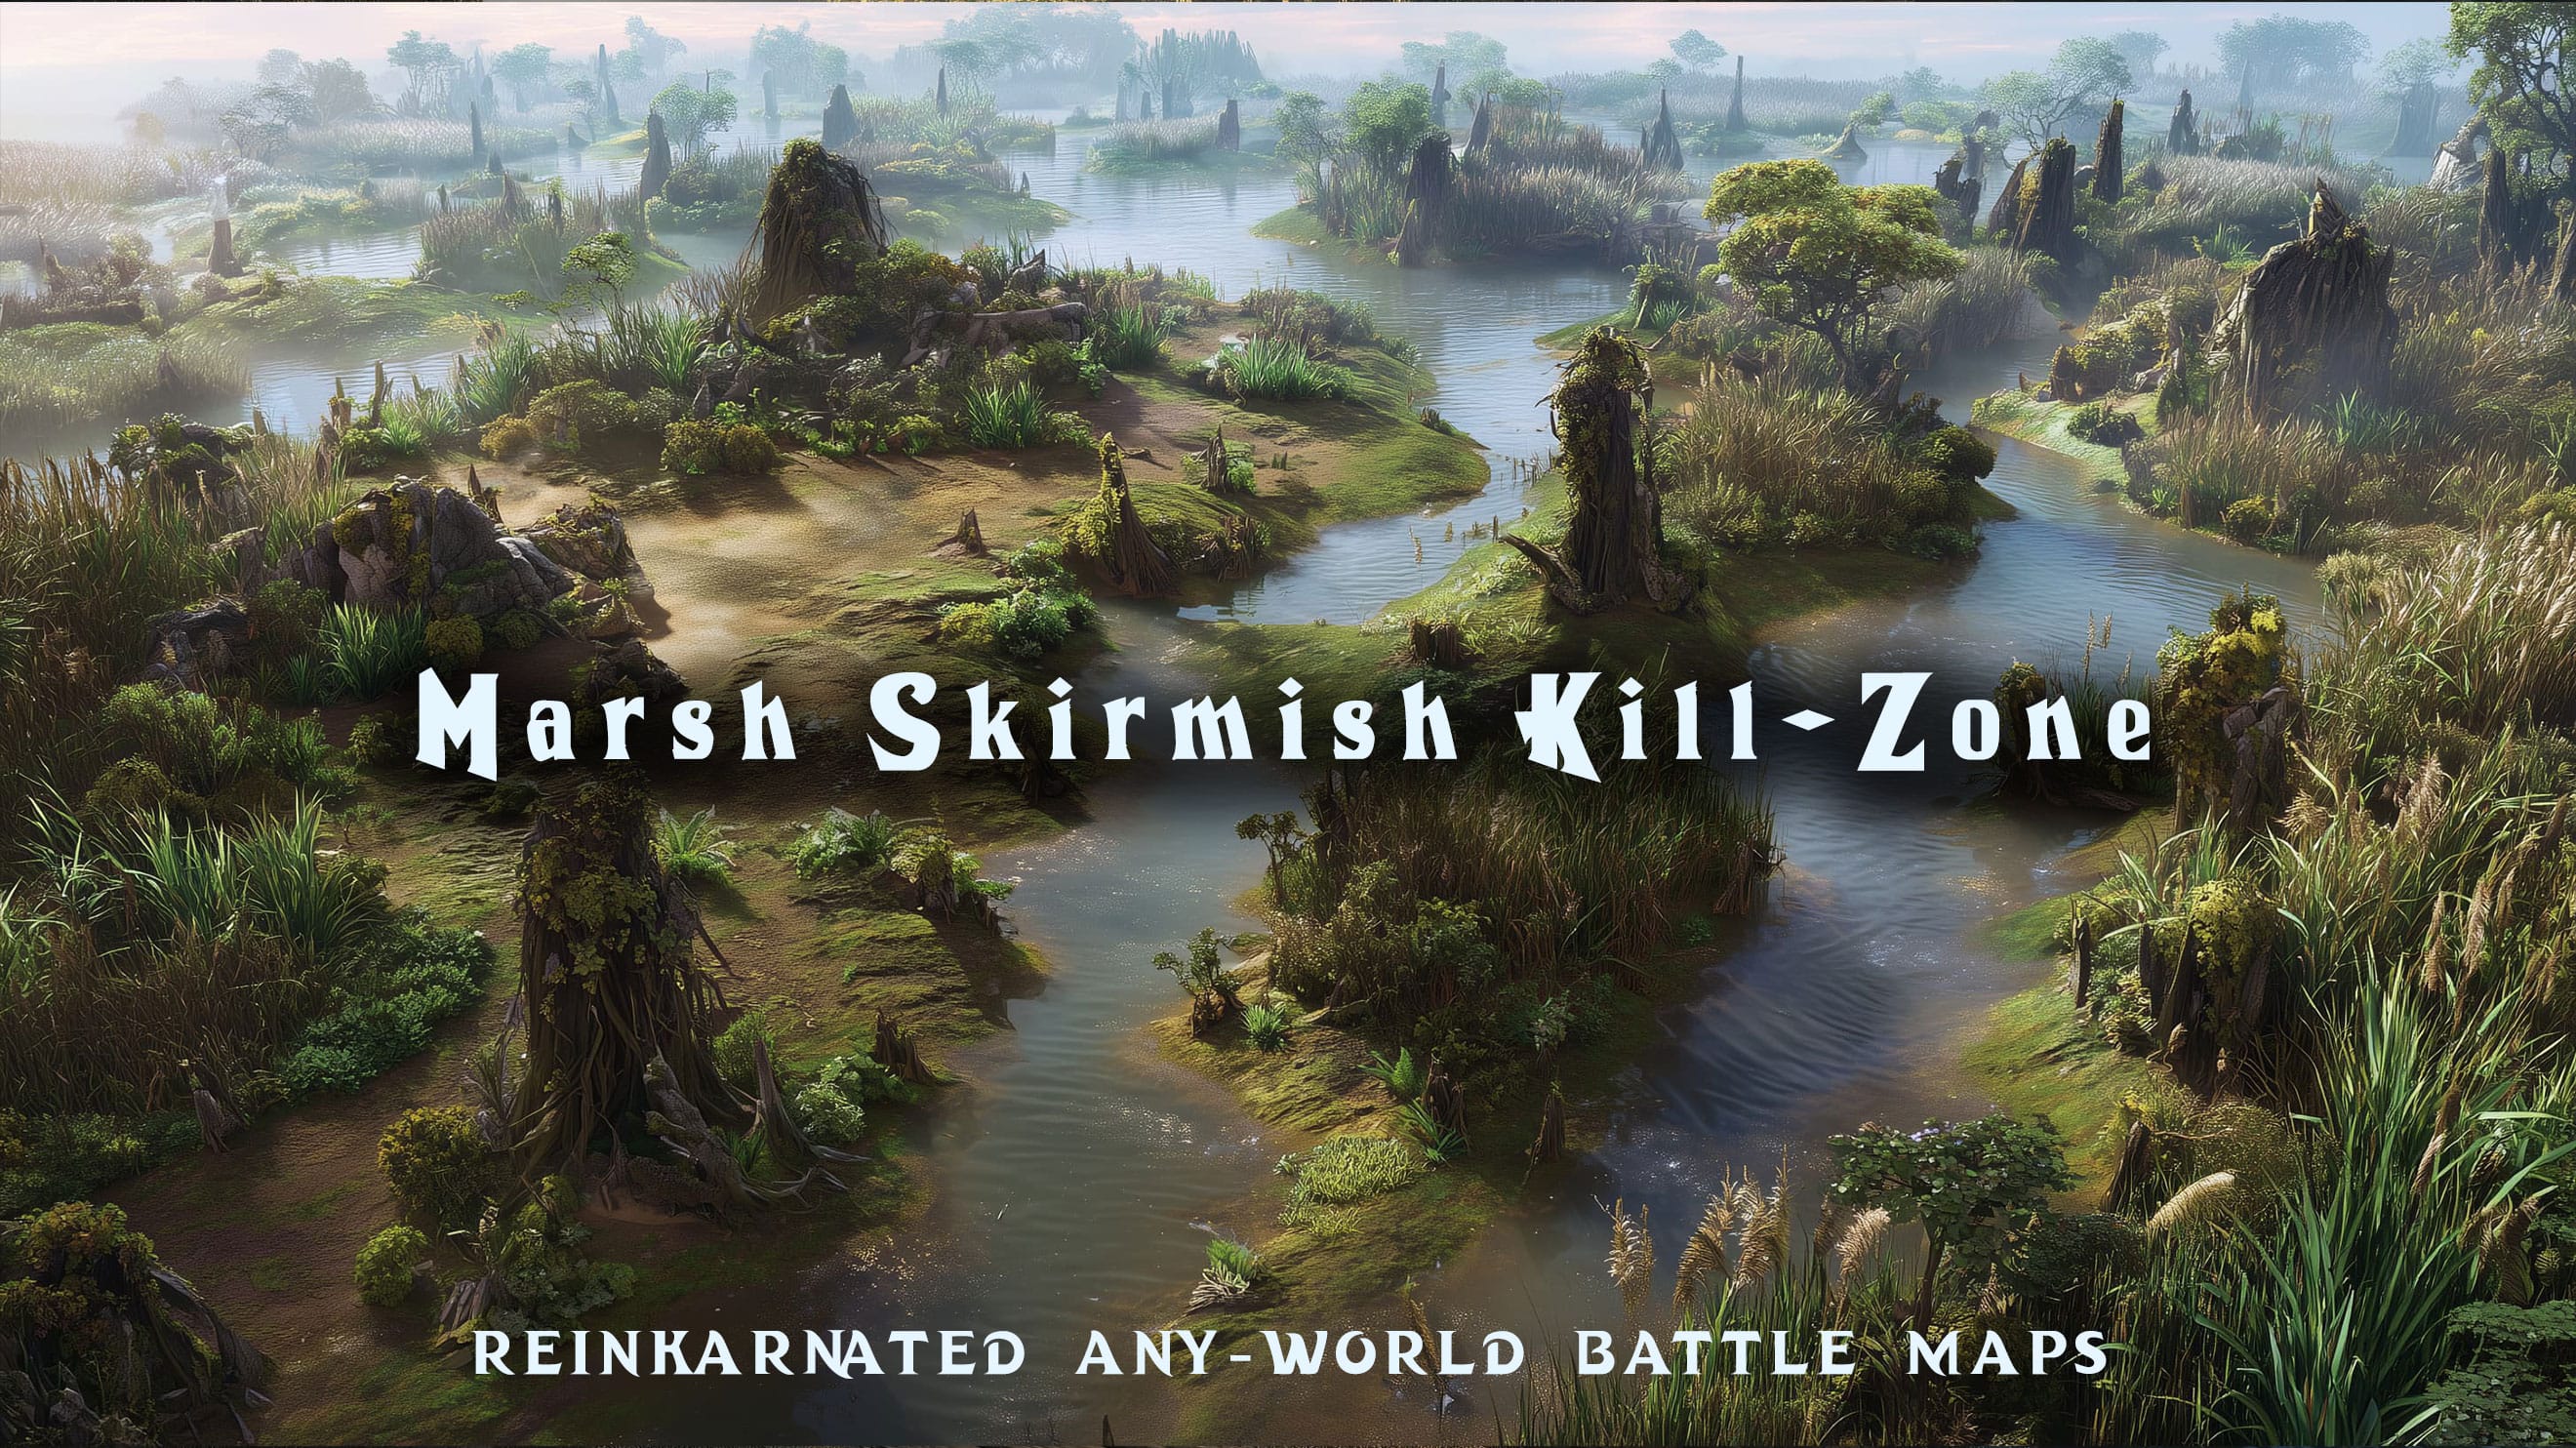
Marsh Skirmish Kill-Zone
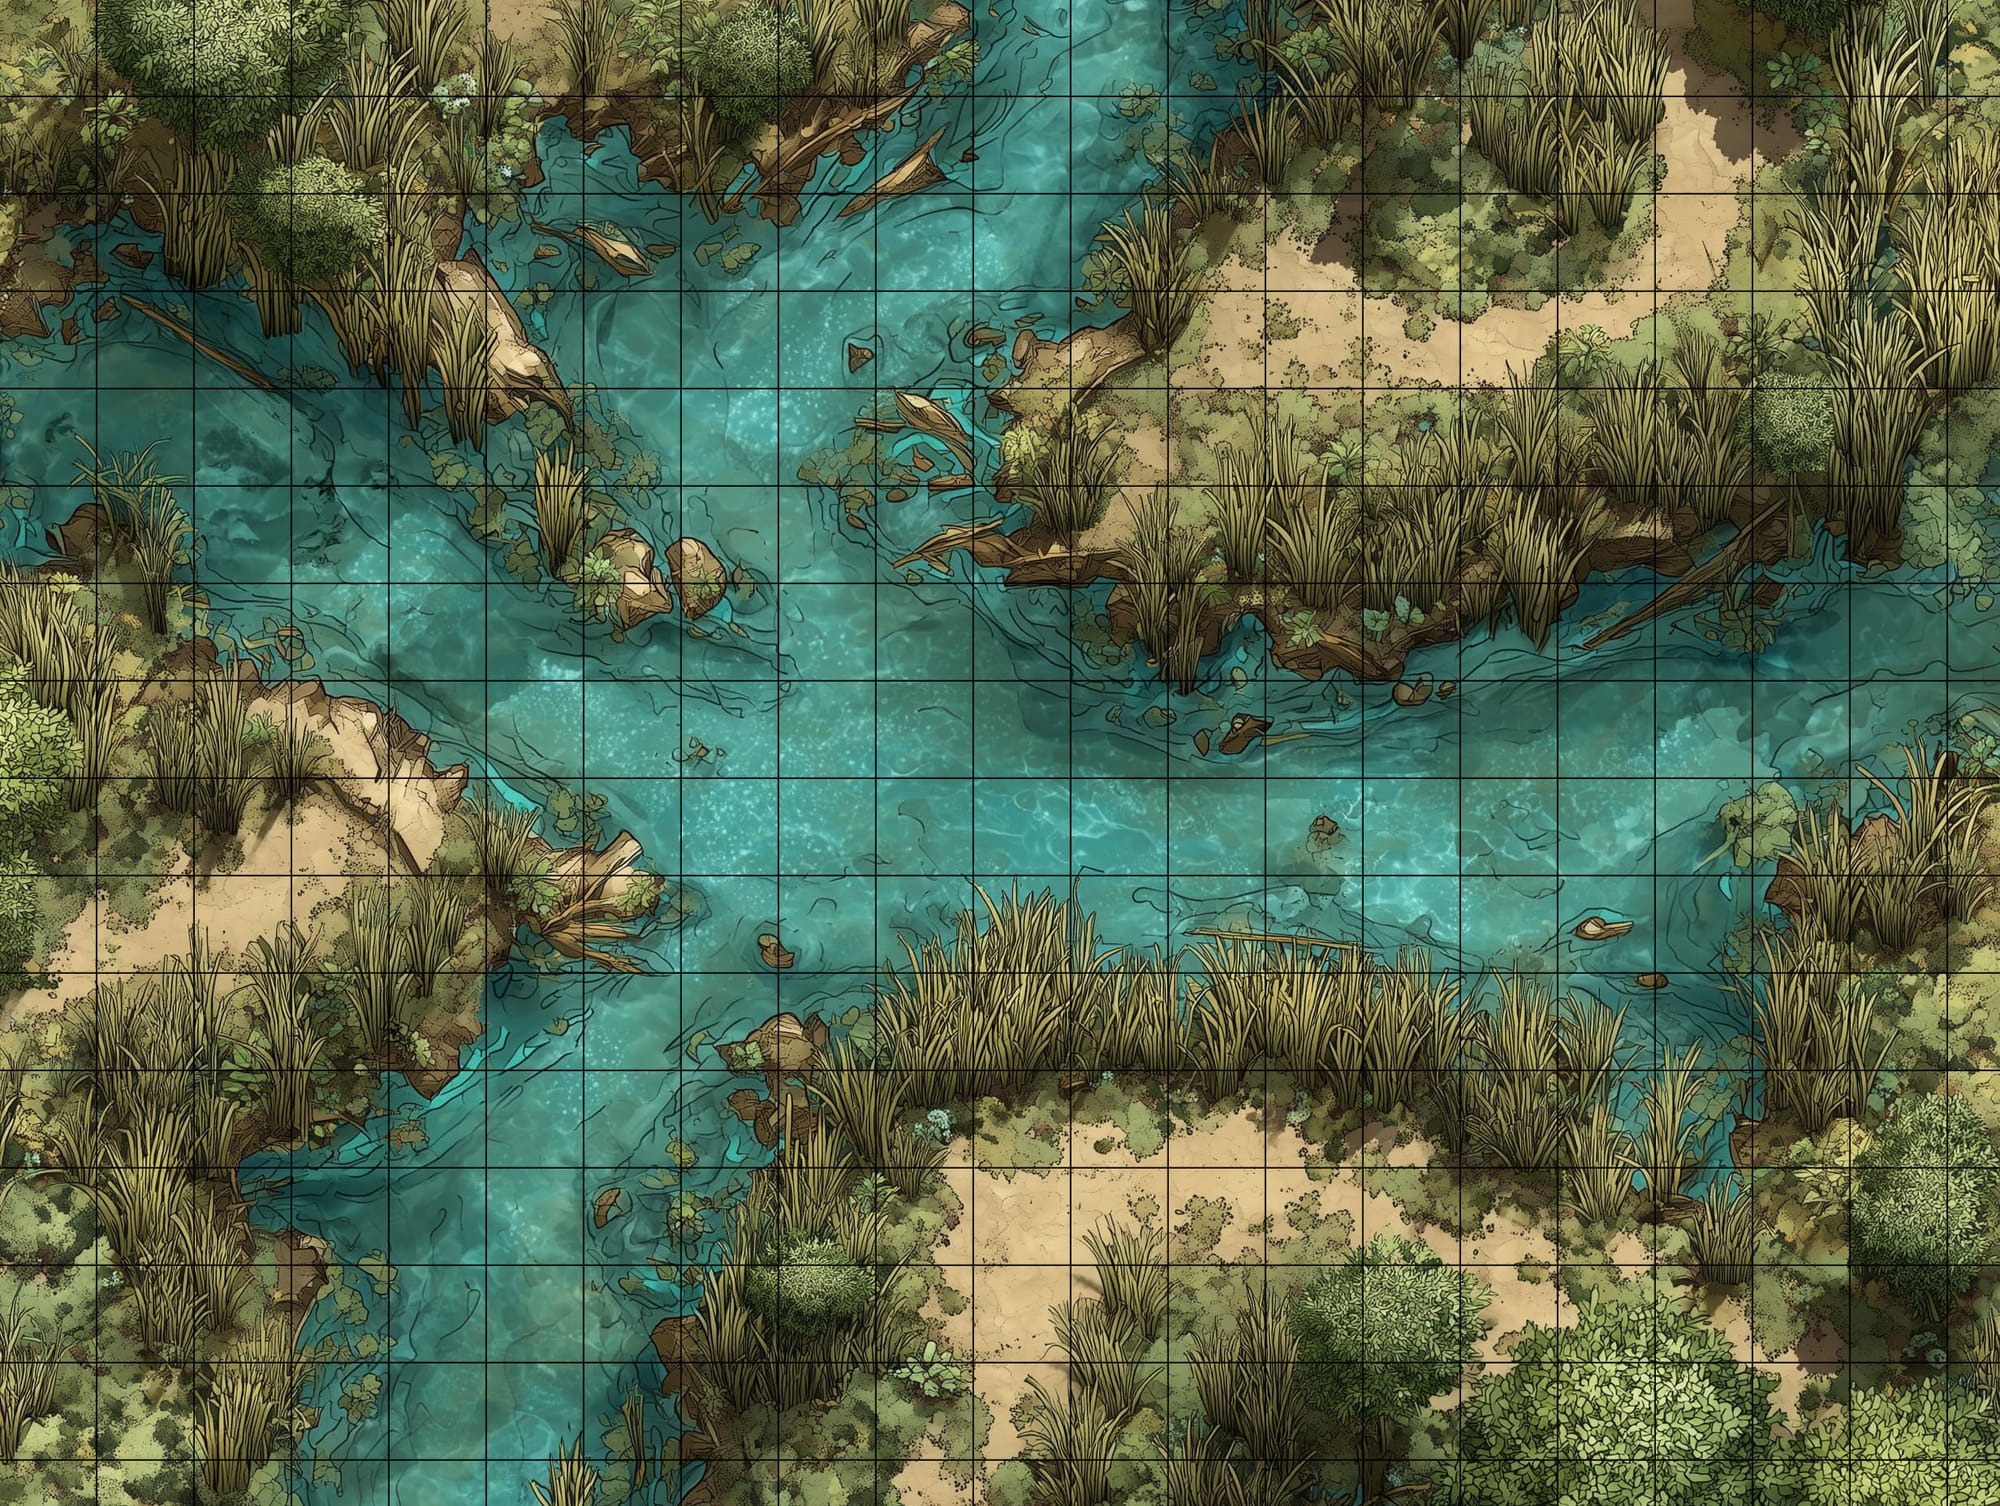
Marsh Skirmish Kill-Zone is a narrow, winding cut of brackish water where the reeds grow thick enough to feel like walls and the current slides through hidden channels like something alive.
Sandy hummocks and firmer peat patches rise in irregular islands along the edges, offering just enough stable footing to bait a confident advance—until boots sink, ankles catch, and the marsh reminds everyone who owns the ground. Driftwood, half-submerged branches, and scattered stones break the surface in misleading shapes, turning distance and direction into guesses.
The real danger here is what you can’t see. Reed curtains choke sightlines to tight, shifting corridors, and the water hides sudden drop-offs and narrow submerged lanes that funnel movement into predictable arcs. Locals who’ve studied the terrain know the safe steps, the quick retreats, and the deceptive “shortcuts” that strand outsiders in the mud. In combat, the kill-zone becomes a pressure trap: splitting the party, slowing responses, and rewarding enemies who strike fast, vanish into reeds, and reappear somewhere the map “shouldn’t” allow—unless you know the marsh’s rules.
Intended Use:
This map is built for ambushes, skirmisher warfare, and guerrilla encounters where information advantage matters more than raw force. Use it for marsh raiders, lizardfolk hunters, bullywug patrols, smugglers, or anyone who fights like the Brackish Brinelands taught them to: hit, disengage, and make pursuit a mistake. The hummocks create contested “micro-objectives” that skirmishers can use as firing perches or rally points, while the reed-choked lanes make it difficult for a party to bring their full power to bear all at once.